This guide will walk you through an opinionated development workflow with
Shorebird, covering how to automate releasing and patching with Shorebird to
streamline the entire development process so that you and your team can focus on
shipping high-quality features to customers.
This guide assumes you are already familiar with Shorebird and have integrated
it into your application. Refer to the
getting started instructions for
more information. In addition, this guide also assumes that you are familiar
with GitHub Actions and
Git.
Shorebird provides a set of tools that you can use to push over-the-air updates
to your customers, but it’s up to you to decide how to integrate it into your
development workflow.
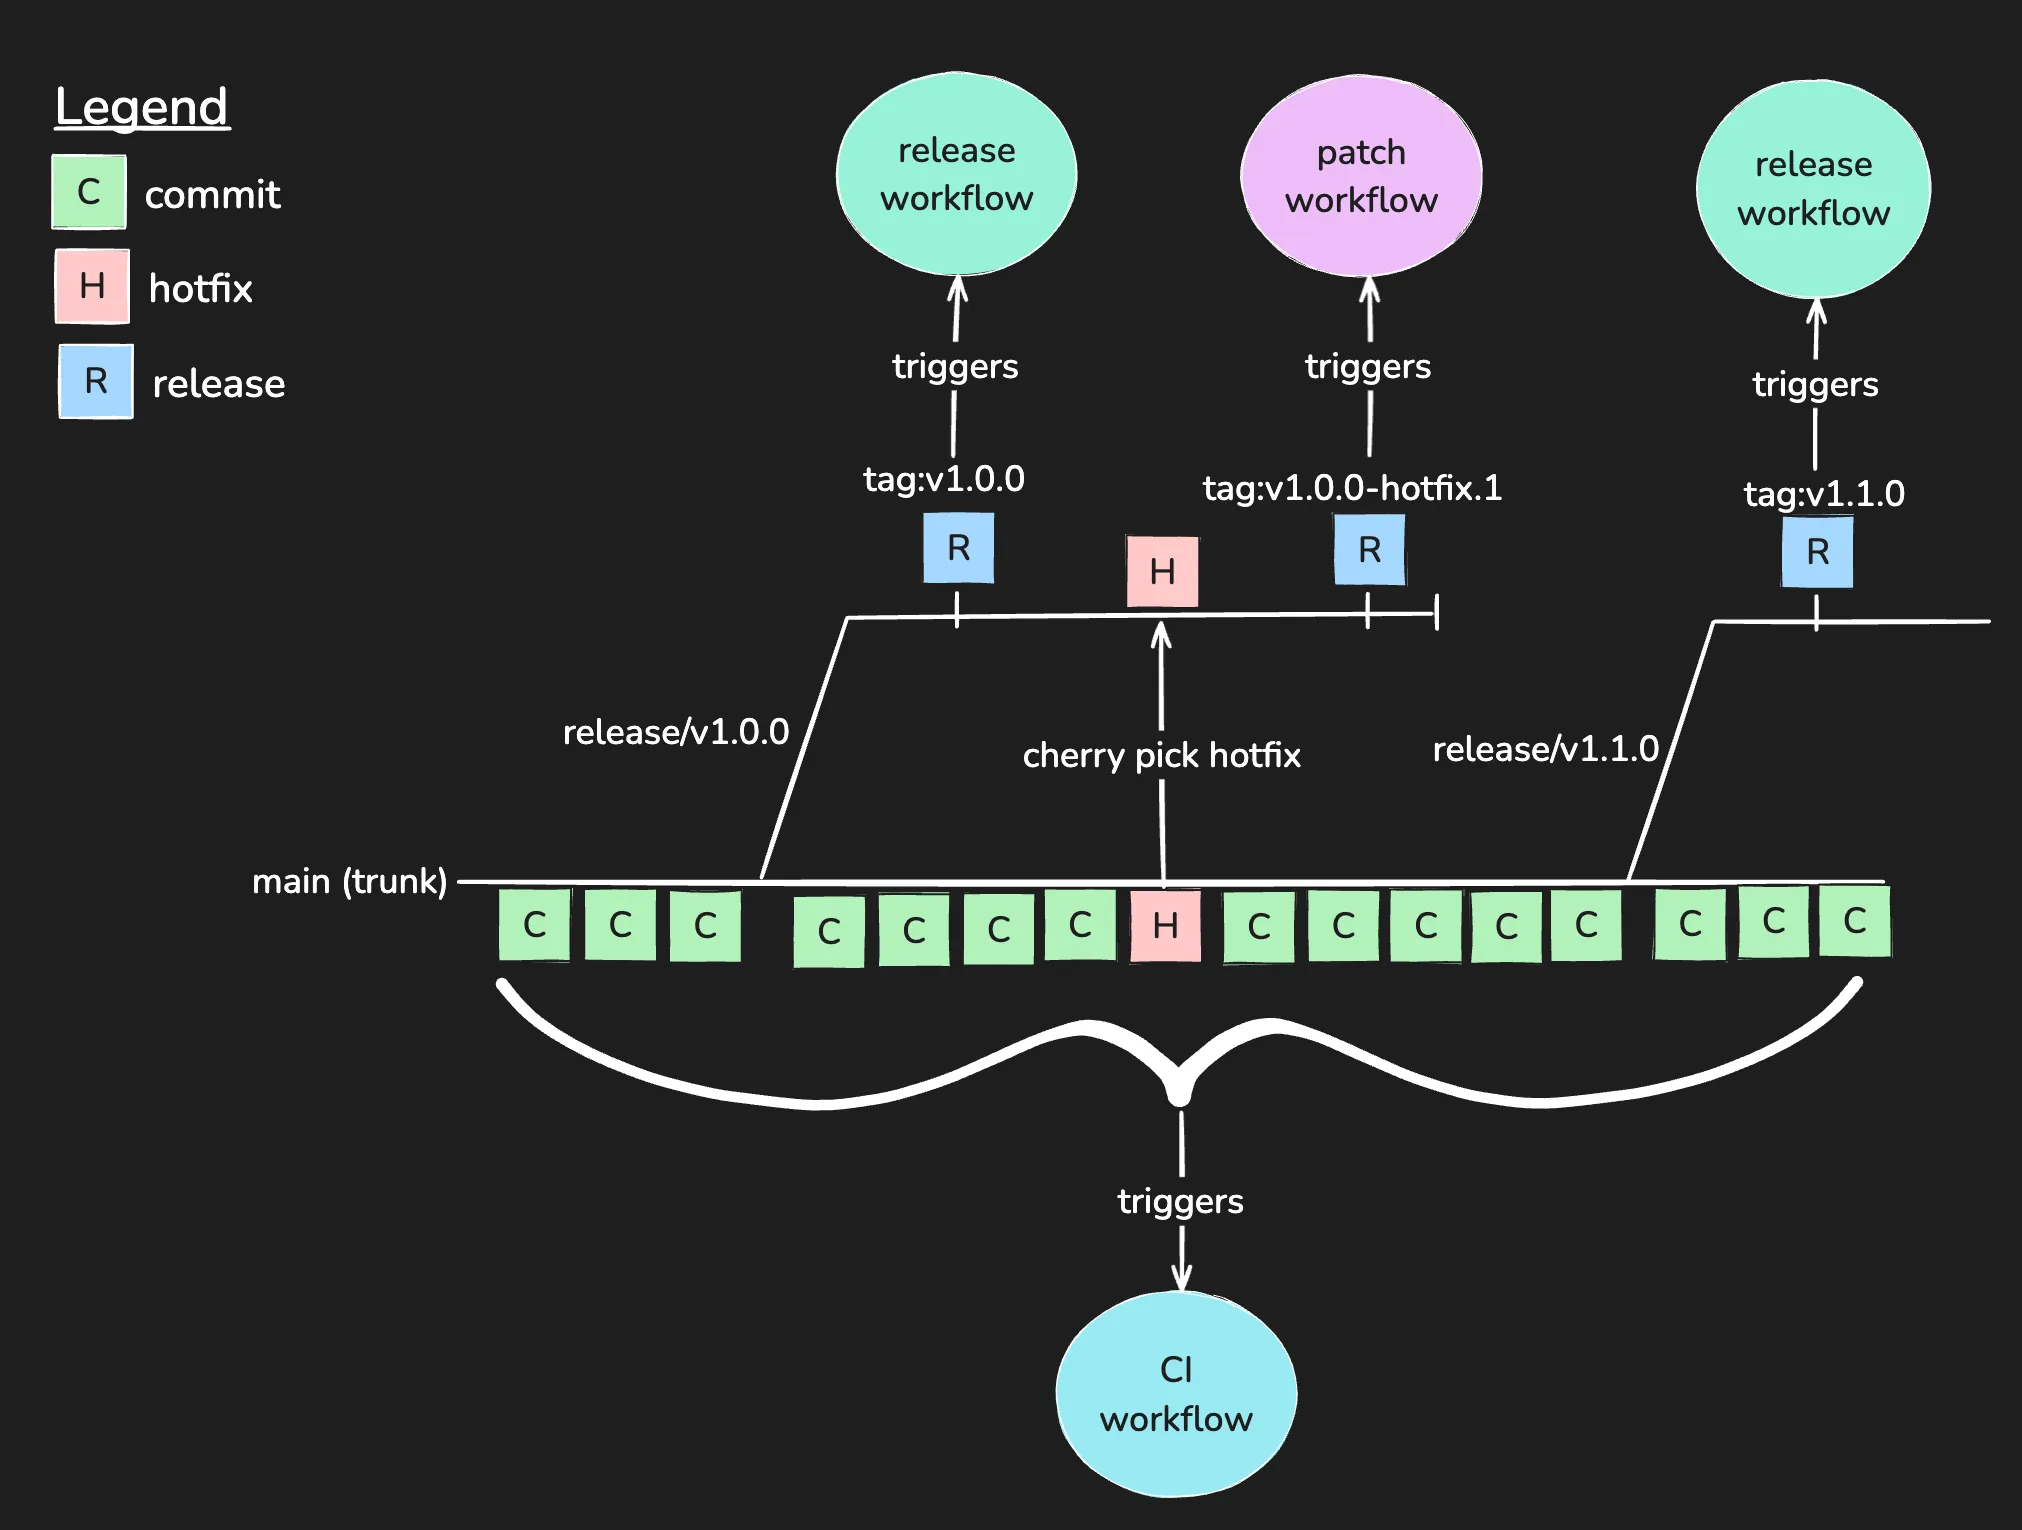
While there are many ways to integrate Shorebird, the following workflow is a
common recommended approach:
The illustration above uses
trunk-based development and tags to trigger
automated release and patch workflows.
The workflow consists of three main phases:
Development: Developers work on features and bug fixes.
Release: When a feature is ready, a release is created and distributed to
customers (typically via stores).
Patch: If a critical bug is found, a patch is created and distributed to
customers immediately via Shorebird.
The following sections walk through each phase in more detail.
During this phase, developers are building features and fixing bugs.
The development workflow can be broken down into the following steps:
Create branch from trunk (main).
Work on task.
Open a pull request to merge changes into trunk.
Squash and merge after CI checks & code review. Squashing commits keeps the
commit history clean and makes it easier to cherry-pick commits into release
branches.
Note that with the described workflow, the trunk (e.g., main) is always in a
releasable state. This puts pressure on continuous integration (CI) checks to
ensure that the code on the trunk is always in a healthy, deployable state.
Checks that would typically run as part of the continuous integration process
include linting, formatting, unit tests, and integration tests. CI checks are
typically run on every pull request and must be passing before the pull request
can be merged.
You can refer to the following GitHub Actions workflow for an example.
When the team is ready to distribute a new version of the app, a release is
created. In some cases, releases are created on a regular cadence (e.g., weekly,
bi-weekly, monthly) while in other cases, releases are created on an ad-hoc
basis.
The release workflow can be broken down into the following steps:
Create a release branch (e.g., release/v1.0.0) from trunk (main).
Create a new release on GitHub (e.g., v1.0.0). This tags the commit so it is
easy to find in the future and triggers the release workflow.
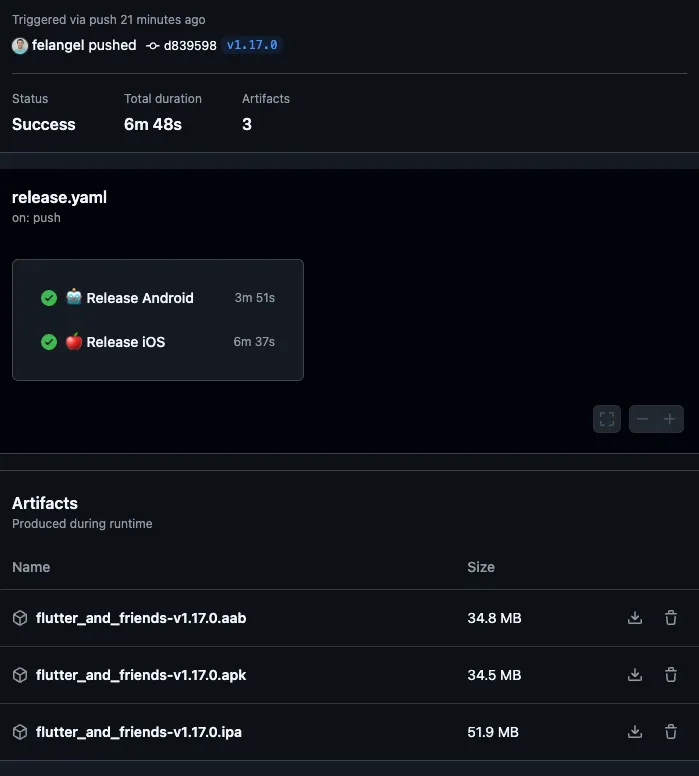
The release workflow is triggered by the tag and generates signed artifacts.
Distribute the artifacts (e.g., via the App Store, Play Store, etc.).
You can refer to the following GitHub Actions workflow for an example.
Even with great testing, sometimes bugs can creep into the app. Shorebird allows
you to fix these bugs and distribute the patches to customers’ devices
immediately rather than having to wait for users to update.
The patch workflow can be broken down into the following steps:
Fix the bug on the trunk branch using the development workflow described
above.
Cherry pick the commit into the desired release branch(es)
Create a new “hotfix” release on GitHub (e.g., v1.0.0-hotfix.1). This tags
the commit so it is easy to find in the future and triggers the patch
workflow.
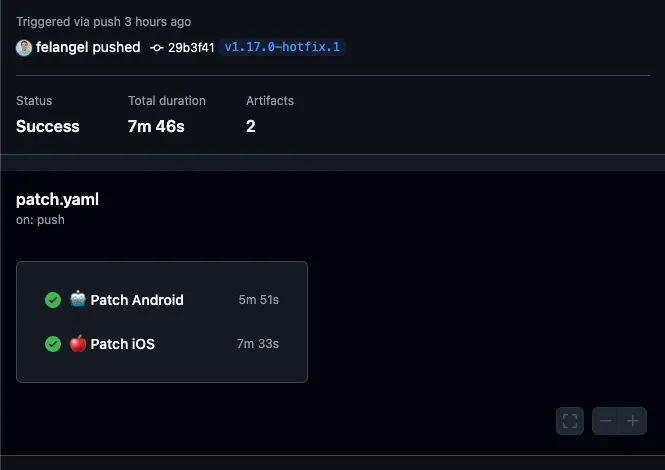
The patch workflow is triggered by the tag and uploads the hotfix to the
staging environment.
Preview the release in the staging environment using the
Shorebird CLI and validate the
fix.
This guide covered an opinionated development workflow with Shorebird that
allows teams to automate releasing and patching in order to iterate quickly
while still delivering a high-quality experience to customers.