

Setup
Configuring Shorebird CI takes less than a minute and requires zero code changes.
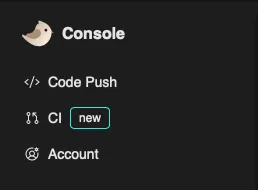
- From the Web Console select CI from the
navigation panel.
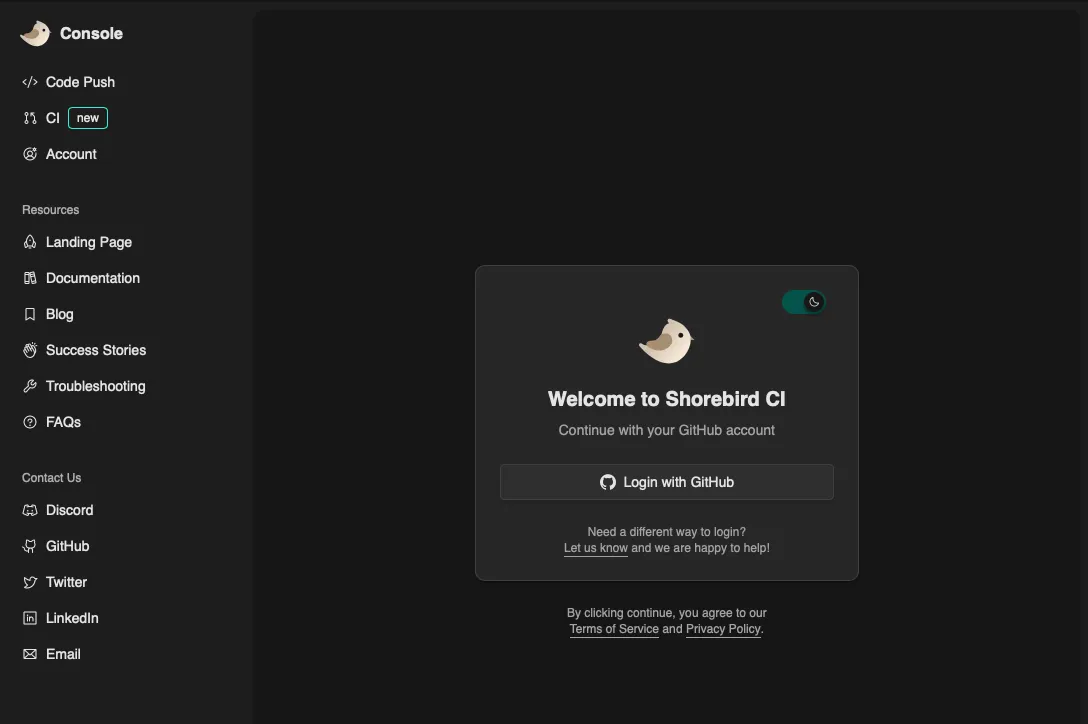
- Sign in with your GitHub account.
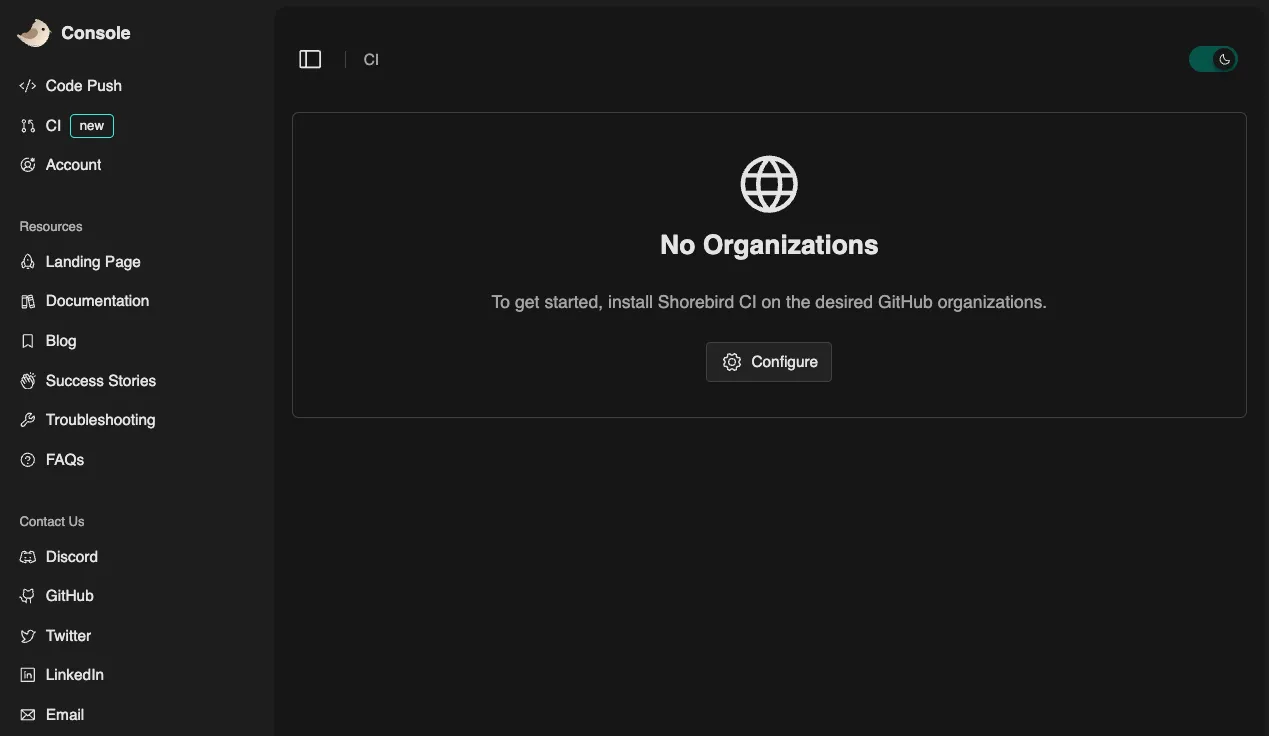
- Install the Shorebird CI GitHub app on the desired GitHub
organizations/repositories.
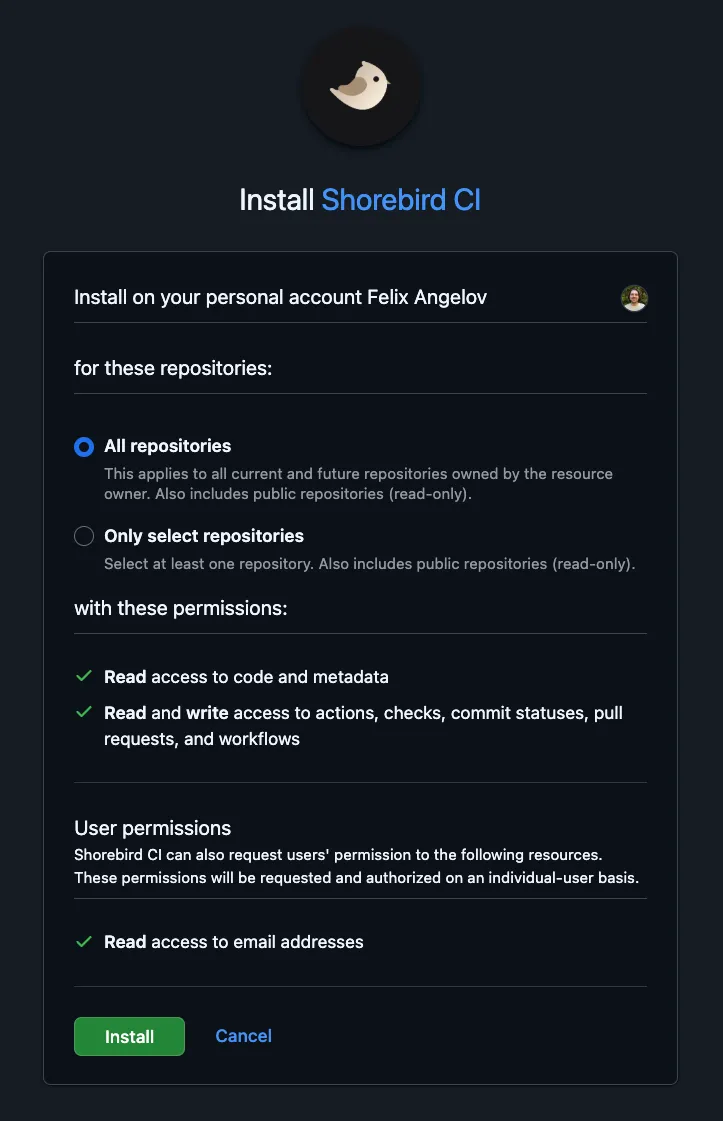
- Confirm the installation for the desired organizations/repositories.
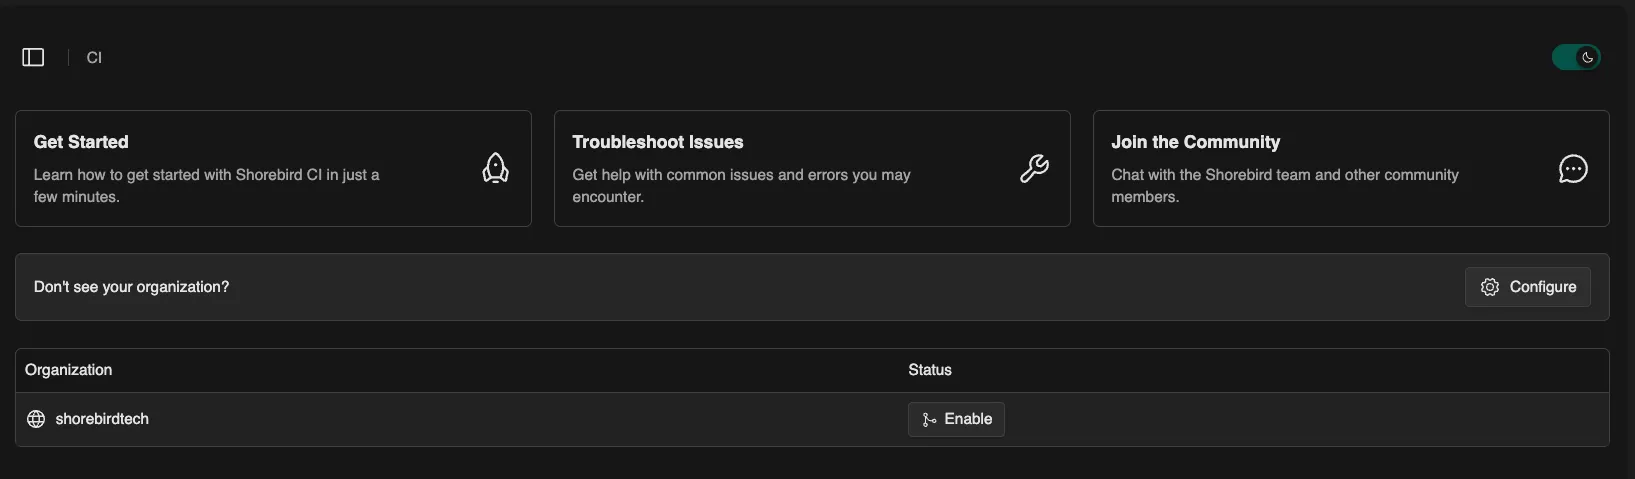
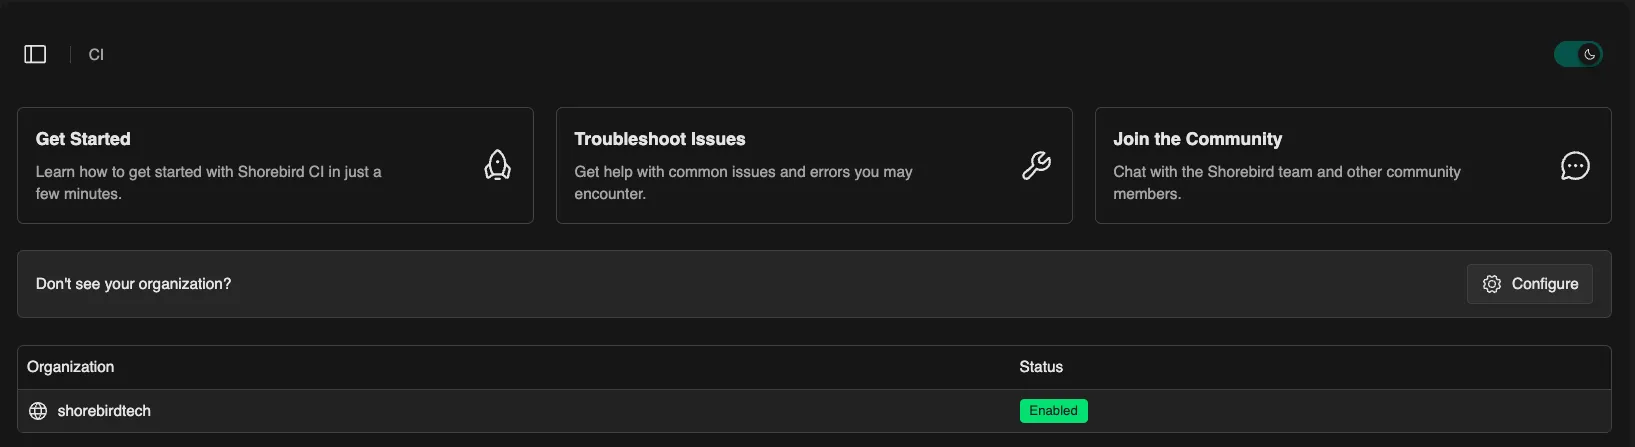
- Refresh the Web Console and enable the
Shorebird CI service for the desired GitHub organizations.
Running Shorebird CI
Section titled “Running Shorebird CI”When you open a pull request, or push a new commit to an existing pull request, Shorebird CI will automatically run for you. It will detect if there are any Dart or Flutter packages and automatically starts running the available checks.

To see more details from these checks you can view the logs for the run